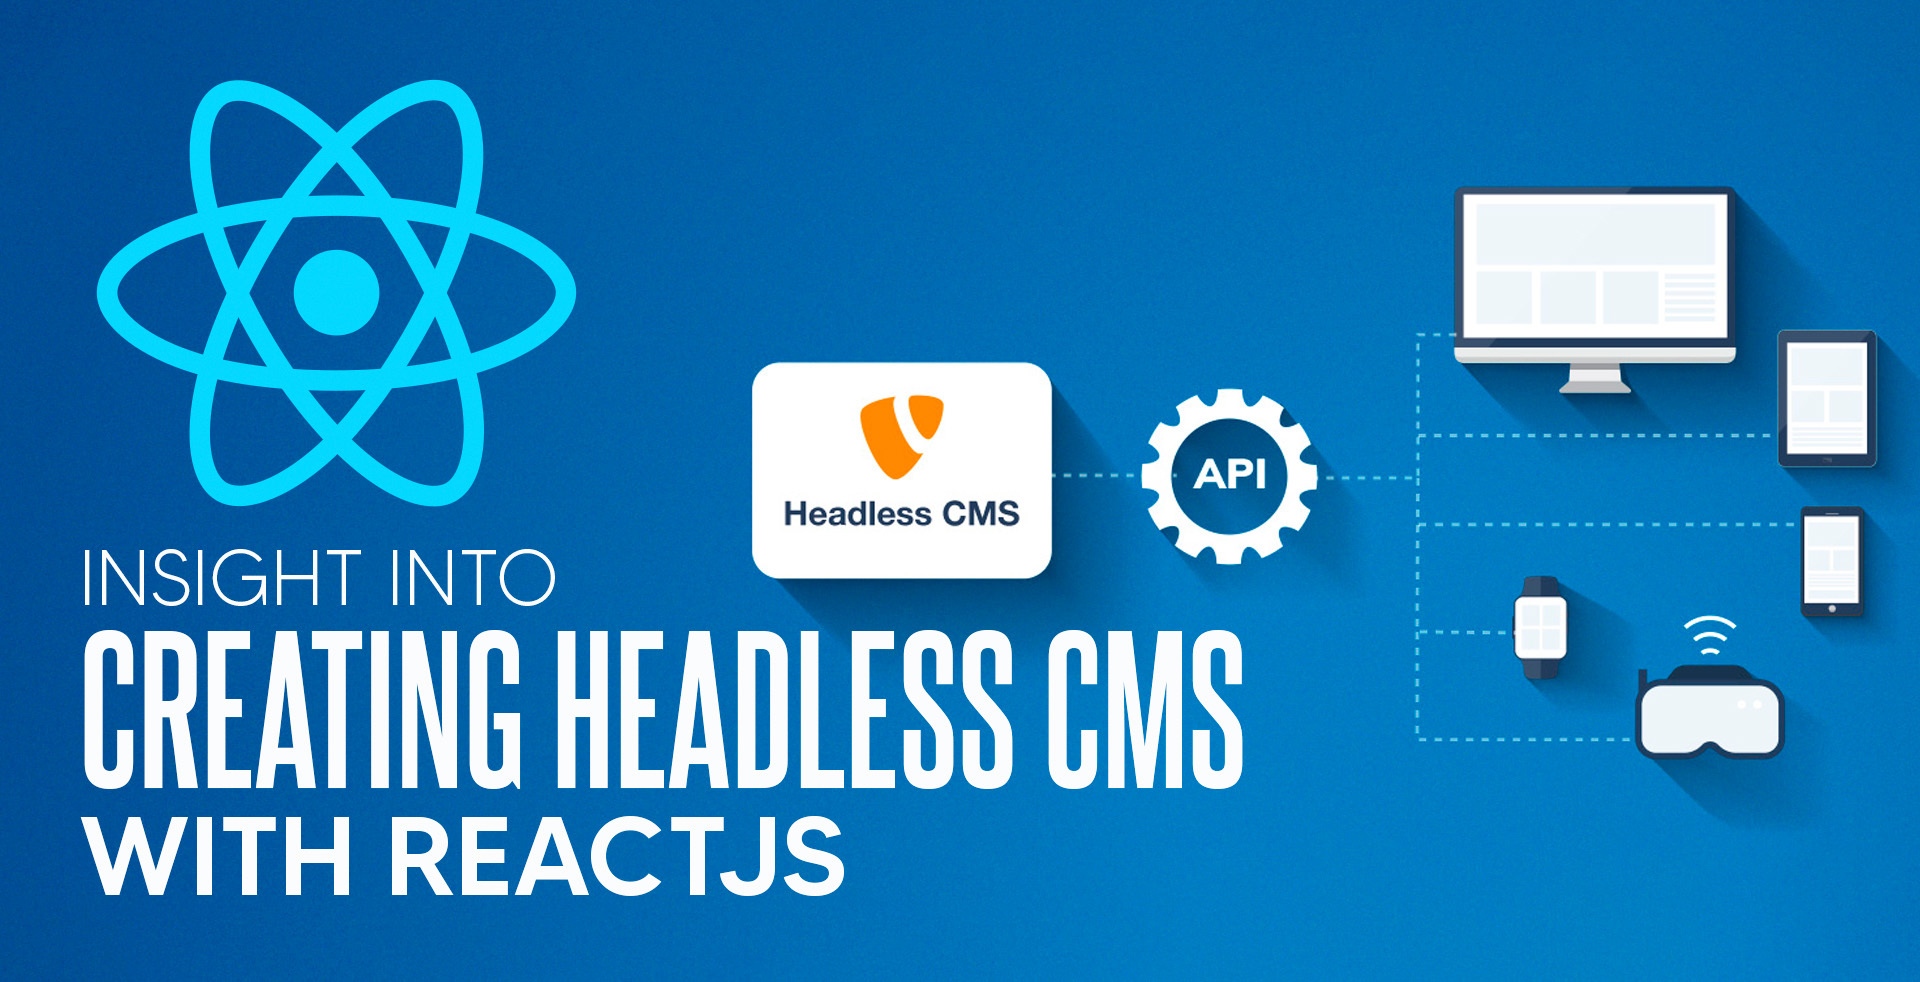
Craft CMS is known for its elegant content editing experience and flexible content modeling. But did you know it also works brilliantly as a headless CMS?
This guide walks you step-by-step through setting up Craft CMS with Element API and React (via Vite or Create React App) to build lightning-fast modern frontend applications.
Why Choose Craft CMS as a Headless CMS?
- ✅ Clean admin interface for content editors
- ✅ Custom fields & sections that adapt to any content model
- ✅ Structured JSON output via Element API
- ✅ Frontend freedom – use React, Vue, Next.js, or any JS framework
- ✅ Great for SEO when combined with server-side rendering (SSR)
Dependencies & Tools Required
Before you begin, make sure you have the following:
If you haven’t installed these dependencies yet, here’s how to get started step-by-step:
Installing Craft CMS
composer create-project craftcms/craft craft-for-react
cd craft-for-react
php craft setup
Set up your database and run the installation in the terminal or browser.
Installing Required Plugins
1. Element API
composer require craftcms/element-api

Enable it from the Craft control panel or via:
php craft plugin/install element-api
2. React for Craft
composer require alexandrekilian/craft-react
php craft plugin/install react

This enables React hydration and SSR inside Craft templates (if you want hybrid rendering).
Turn Craft CMS into a Headless CMS
Create a file: config/element-api.php
use craft\elements\Entry;
return [
'endpoints' => [
// All blog posts
'api/blogs' => function() {
return [
'elementType' => Entry::class,
'criteria' => ['section' => 'blog'],
'transformer' => function(Entry $entry) {
return [
'title' => $entry->title,
'slug' => $entry->slug,
'body' => $entry->getFieldValue('body'),
'date' => $entry->postDate->format('Y-m-d H:i:s'),
];
},
];
},// Single blog post
'api/blog/<slug:[a-zA-Z0-9\-_]+>' => function($params) {
return [
'elementType' => Entry::class,
'criteria' => [
'slug' => $params['slug'],
'section' => 'blog',
],
'one' => true,
'transformer' => function(Entry $entry) {
return [
'title' => $entry->title,
'slug' => $entry->slug,
'body' => $entry->getFieldValue('body'),
'date' => $entry->postDate->format('Y-m-d H:i:s'),
];
},
];
},
],
];
You can now fetch:
- http://example.com/api/blogs
- http://example.com/api/blog/my...
Fixing CORS Issue
To allow your React app (e.g., on http://localhost:3000) to access Craft CMS APIs, enable CORS.
Option 1: Apache .htaccess
<IfModule mod_headers.c>
Header set Access-Control-Allow-Origin "*"
Header set Access-Control-Allow-Methods "GET, OPTIONS"
Header set Access-Control-Allow-Headers "Origin, Content-Type, Accept"
</IfModule>
Option 2: Nginx
location / {
add_header Access-Control-Allow-Origin *;
add_header Access-Control-Allow-Methods 'GET, OPTIONS';
add_header Access-Control-Allow-Headers 'Origin, Content-Type, Accept';
}
Setting Up React Frontend ( or with Vite)
npm create vite@latest craft-react-app --template react
cd craft-react-app
npm install
npm run dev
Fetching from Craft CMS in React
Example:
import { useEffect, useState } from "react";
const BlogList = () => {
const [blogs, setBlogs] = useState([]);useEffect(() => {
fetch("http://example.com/api/blogs")
.then(res => res.json())
.then(data => setBlogs(data.blogs))
.catch(console.error);
}, []);return (
<div>
<h1>Our Blogs</h1>
{blogs.map((blog, i) => (
<div key={i}>
<h2>{blog.title}</h2>
<p>{blog.date}</p>
<div dangerouslySetInnerHTML={{ __html: blog.body }} />
</div>
))}
</div>
);
};export default BlogList;
Flow Diagram: How It Works
Craft CMS (Admin Panel)
↓ (Content Created)
Element API (JSON Endpoint)
↓ (Fetch via REST)
React Frontend (Vite App)
↓ (Display Content)
User Interface
Helpful Links
Summary
Using Craft CMS as a headless CMS with Element API and React (or Vite) allows you to:
- Deliver blazing-fast SPAs
- Maintain structured, manageable content
- Improve editor experience in Craft
- Enable full customization on the frontend
Whether you're building a blog, business site, or full-fledged application, this setup offers the best of both worlds—a powerful backend and a flexible, modern frontend.
For more help or information, feel free to visit:
👉 Craft CMS Developer